Installation Requirements and Technical Specifications for Steam Pressure Relief Valves
As the core equipment for pressure control in steam systems, engineers must install steam pressure relief valves with precision to ensure system safety, stability, and energy efficiency. Proper installation not only guarantees the valve’s normal pressure reduction function but also effectively prevents issues like water hammer, leakage, and equipment damage. This article systematically summarizes the key installation requirements based on industry standards and engineering practices. It covers pre-installation preparations, core technical points, supporting equipment, and maintenance guidelines.
1. Pre-installation Preparations
1.1 Valve Selection and Parameter Verification
Engineers must first select the valve based on the steam system’s design parameters, including flow rate, inlet pressure, outlet pressure, temperature, and pressure difference. Avoid choosing the valve solely by pipeline diameter. For high-pressure difference scenarios (e.g., over 1.0MPa), use series pressure reduction stations to achieve step-by-step pressure reduction. This approach prevents excessive wear on the valve disc and reduces noise from single-stage throttling. Additionally, verify that the valve model, diameter, pressure rating, and connection type match the design drawings. Ensure the flow direction arrow on the valve body aligns with the pipeline’s flow direction.
1.2 Pipeline System Cleaning and Inspection
First, thoroughly clean the pipeline to remove welding slag, rust, sediment, and oil. Use compressed air blowing or dry cleaning (avoid water flushing for steam pipelines) to prevent debris from entering the valve and damaging its internal components. Next, inspect the pipeline for deformation, cracks, or damaged flanges and threads. Complete flaw detection and anti-corrosion treatment for welded joints before installation.
2. Core Installation Techniques
2.1 Proper Positioning and Flow Alignment
Install most steam pressure relief valves horizontally with the valve body level and the bonnet facing upward. This orientation ensures the valve disc moves freely without gravity interference. For special cases requiring vertical installation, consult the manufacturer for approval. Always install the valve in the direction indicated by the arrow on the body; reverse installation can cause disc jamming or pressure control failure. For pilot-operated valves, ensure the connection between the main valve and pilot valve is straight and free from twists to maintain accurate signal transmission.
2.2 Straight Pipe Section Requirements
To ensure stable pressure control and accurate measurements, leave straight pipe sections before and after the valve. Upstream, provide at least 6 times the pipe diameter (≈600mm) of straight pipe to eliminate turbulent flow. Downstream, leave at least 5 times the pipe diameter (≈500mm) of straight pipe for pressure stabilization. If using external pressure sensing, place the tapping point 10 times the pipe diameter downstream of the valve, away from elbows or tees that could distort readings.
2.3 Pipeline Support and Stress Management
Install independent supports on both sides of the valve to avoid stress from pipeline expansion or contraction. For valves with a diameter ≥DN80, use flexible bellows compensators at flanged connections to reduce vibration and absorb minor movements. Use sliding or guided supports to allow axial pipeline movement; never fix the valve body rigidly.
3. Supporting Equipment Installation
3.1 Filtration and Condensate Drainage
Install a Y-type strainer (100-mesh minimum) upstream of the valve inlet to trap solid particles and debris. Equip the strainer with a drain valve for easy cleaning, and ensure proper alignment with the pipeline flow. For pilot-operated valves, install an inverted bucket steam trap on the inlet side to drain condensate and prevent water hammer. Position the trap lower than the valve to ensure gravity-driven drainage.
3.2 Safety and Monitoring Equipment
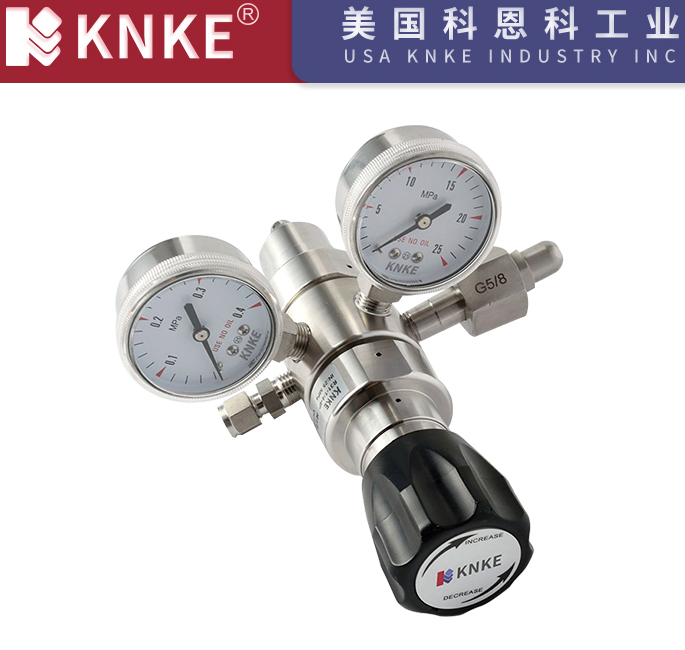
Install a spring-loaded safety valve on the downstream pipeline, set 5–10% above the valve’s outlet pressure (but not exceeding the system design pressure). This protects against overpressure if the valve fails. Keep the pipeline between the safety valve and relief valve short and straight, with no shut-off valves except for maintenance (which must remain open). Install 1.6-grade pressure gauges on both sides of the valve, using damping tubes to protect against pressure surges.
3.3 Bypass Pipelines and Stop Valves
Include a bypass pipeline (same diameter as the main line) with manual stop valves for maintenance without system shutdown. Position the bypass above or beside the valve for easy operation, and avoid pipeline layouts that trap air or water. Use gate or ball valves for tight sealing, and clearly mark their open/closed states.
4. Operation and Maintenance Guidelines
4.1 Post-installation Commissioning
After installation, perform hot tightening within 24 hours of system startup. Tighten flange bolts in a diagonal sequence in stages to prevent leakage from thermal expansion. To adjust pressure: first, close the bypass and slowly open the inlet valve. Then, loosen the adjustment screw fully and gradually increase pressure until reaching the set point (±5% tolerance). Test pressure stability under load changes and lock the screw with a protective cover.
4.2 Routine Maintenance
Conduct daily checks of pressure gauges and steam trap operation, recording readings. Weekly, clean the strainer and inspect for leaks or vibrations. Quarterly, test the safety valve manually, and annually, have it calibrated by a professional. If pressure fluctuates excessively, check for spring wear or clogged ports. For water hammer noises, inspect the steam trap and drain condensate immediately.
5. Safety and Quality Assurance
Only certified technicians should install and maintain these valves, following GB 50235 and the manufacturer’s guidelines. After installation, conduct pressure tests (1.5x nominal pressure for strength, 1.1x for sealing). Archive installation records, commissioning reports, and safety valve calibration certificates for compliance.
Installing steam pressure relief valves requires a systematic approach, balancing equipment specifications, pipeline design, and operational needs. By following these guidelines—from precise selection to regular maintenance—engineers can ensure reliable valve performance and system safety. For best results, tailor installation plans to project-specific parameters and consult manufacturer experts, optimizing both equipment efficiency and system reliability.