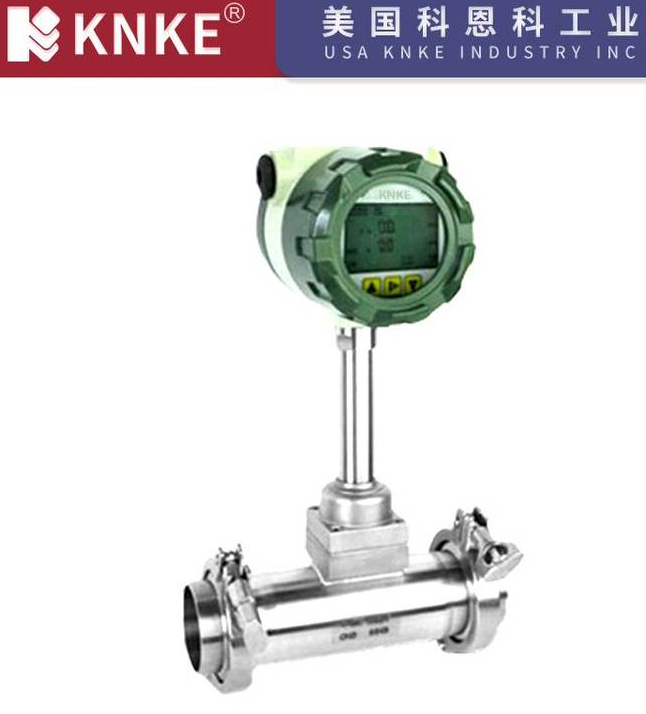
Flow Meter Installation Steps | Complete Guide
Installing a flow meter correctly is essential to ensure accurate measurement, long service life, and reliable operation. Many industrial sectors such as petrochemicals, power plants, food and beverage, pharmaceuticals, and water treatment rely on flow meters for precision monitoring.
This article provides a step-by-step installation guide for flow meters, covering preparation, mechanical installation, wiring, and commissioning.
1. Preparation Before Installing a Flow Meter

Before beginning the installation, it is important to make sure all requirements are in place. Proper preparation minimizes installation errors and improves performance.
- Check the package and accessories
Verify the model, specifications, and range. Ensure that the flow sensor, transmitter, sealing rings, flanges, and bolts are complete and undamaged. - Confirm process conditions
Make sure that the medium type, temperature, pressure, and pipe size match the technical parameters of the flow meter. - Prepare tools and materials
Common tools include wrenches, screwdrivers, welding equipment, sealing tape, flange gaskets, explosion-proof connectors, and shielded cables.
2. Flow Meter Installation Steps
Correct installation ensures accurate readings and prevents malfunction. Follow these general steps:
2.1 Select the Right Installation Location
- Choose a straight pipe section with at least 10D upstream and 5D downstream (D = pipe diameter).
- Avoid areas near elbows, valves, or pumps where flow turbulence is high.
- The installation point should be easily accessible for maintenance and reading.
2.2 Pipe Preparation
- Clean the pipeline thoroughly to remove welding slag, dust, and debris.
- Ensure that the pipe ends are smooth and properly aligned.
2.3 Mounting the Flow Meter
- Flange connection type: Place the flow meter between the flanges, ensuring the arrow direction matches the medium flow, and tighten bolts evenly.
- Threaded or wafer type: Install with correct sealing gaskets to prevent leakage.
- Insertion type: Weld a special saddle or seat, insert the probe to the required depth, and secure it firmly.
2.4 Electrical Wiring
- Connect the power and signal cables according to the manufacturer’s wiring diagram.
- Use shielded cables and ensure proper grounding to avoid electromagnetic interference.
- For hazardous environments, apply explosion-proof cable glands and junction boxes.
3. Commissioning and Calibration
After physical installation, the flow meter must be tested and calibrated.
- Installation check: Confirm bolts are tightened, gaskets sealed, and the flow meter is mounted in the correct orientation (horizontal or vertical as required).
- Power-on and setup: Switch on the device, configure parameters such as range, unit, and compensation.
- Trial run: Open the valve slowly to avoid sudden pressure shocks. Observe the flow signal for stability.
- Calibration: Compare readings with a standard meter or reference flow to verify accuracy. Adjust calibration factors if necessary.
4. Important Safety Notes
- Always follow the manufacturer’s installation manual and guidelines.
- Inspect fastening bolts, grounding, and signal cables regularly.
- Avoid running the flow meter under empty-pipe conditions for long periods.
- Clean the flow sensor periodically, especially in media prone to scaling or clogging.
Conclusion
Following the correct flow meter installation steps is crucial for ensuring accurate measurement and long-term reliability. By carefully preparing, selecting the right installation site, wiring properly, and calibrating after installation, industries can achieve stable operation and extend the life of their flow meters.
Whether you are installing a flow meter for water, gas, or chemical processes, this guide helps you minimize errors and maintain high measurement accuracy.
