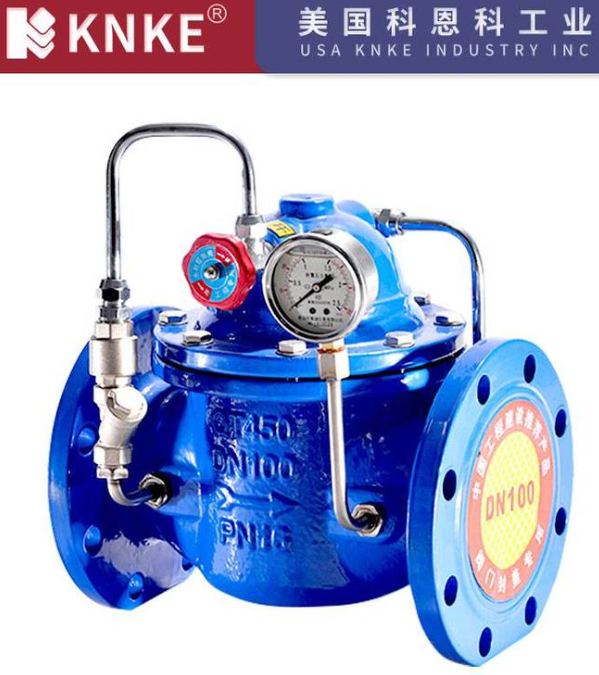
Check Valve Installation Precautions
Check valves are essential for preventing backflow in pipeline systems. These valves are commonly used in water treatment, water supply, and industrial applications. Proper installation of wafer-type check valves ensures the equipment works efficiently and extends its service life. Below are some important installation tips to optimize performance and maintain system safety.

1. Match the Valve Flow Direction with the Fluid Flow
Wafer-type check valves require a specific flow direction. Install the valve so that its flow direction matches the fluid flow in the pipeline. Most valves will have an arrow indicating the correct direction. Verify the fluid flow before installation. Installing the valve incorrectly may cause failure and disrupt the entire system.
2. Keep the Valve Disc’s Operating Radius Clear
Ensure that no pipe fittings or obstructions are placed within the operating radius of the valve disc. Obstructions may block the disc’s movement, preventing the valve from opening or closing properly. This could damage the valve and reduce system efficiency.
3. Avoid Reducer Pipes Before or After the Valve
Do not install reducer pipes immediately before or after the check valve. Reducers can cause changes in fluid velocity and pressure, which may affect the valve’s function. This can lead to improper valve operation and reduce the overall efficiency of the system.
4. Ensure Enough Space Around Elbows
When installing a check valve near an elbow, make sure there is sufficient space. Elbows alter the flow of fluid and can affect the valve’s performance. Leave enough room around the elbow to ensure smooth fluid flow and avoid problems like pressure loss or flow dead zones.
5. Leave Adequate Space at Pump Outlets
When installing a check valve at a pump outlet, leave at least six times the valve’s diameter in space before the valve. This space ensures the valve disc can move freely, preventing issues like water hammer or pump reversal. Proper spacing helps maintain the valve’s efficiency and prevents failure due to excessive pressure.
6. Install the Valve According to Pipeline Orientation
The installation position of the check valve should match the orientation of the pipeline. For vertical pipelines, install the valve vertically. For horizontal pipelines, position the valve horizontally. Correct positioning ensures smooth valve operation and prevents issues like improper opening or closing.
7. Use an Expansion Joint Between the Check Valve and Butterfly Valve
When installing a check valve next to a butterfly valve, use an expansion joint between them. Do not connect the check valve directly to other valves. The expansion joint helps absorb thermal expansion and movement, reducing stress on both valves and ensuring proper operation.
Correctly installing wafer-type check valves is essential for maintaining pipeline system performance. By following the tips above, you can avoid installation errors and improve system stability. Installation teams should adjust methods based on pipeline layout and fluid conditions. Proper installation leads to better valve performance and longer service life.
