How to Properly Install a Check Valve: A Complete Guide
A check valve, also known as a non-return valve or one-way valve, is a critical component in fluid control systems. Its primary function is to permit media (liquids or gases) to flow in only one direction, preventing backflow that can cause system damage, pressure issues, or contamination. Incorrect installation can render the valve useless or even lead to system failure. This guide will walk you through the proper steps to ensure your check valve is installed correctly and efficiently.
1. Pre-Installation Checklist: What You Must Do First
Before you begin the installation, a few essential steps will ensure a smooth process and prevent potential problems.
- Verify the Valve Specifications: Confirm that the check valve’s type, size, pressure rating, and material match your specific pipe system requirements. Different types of check valves (swing, lift, or butterfly) are designed for different applications.
- Inspect the Valve: Carefully examine the valve body, disc, and seals for any signs of damage, cracks, or foreign objects.
- Clean the Pipeline: Thoroughly clean the inside of the pipe at the installation point. Debris like weld slag, rust, or metal shavings can get stuck in the valve and prevent it from opening or sealing properly.
- Identify the Flow Direction: Check valve bodies typically have an arrow or a flow direction mark clearly indicating the intended direction of media flow. Always confirm this direction and ensure it aligns with the flow in your pipeline.
2. Installation Guide for Different Check Valve Types
The installation method can vary slightly depending on the type of check valve you are using.
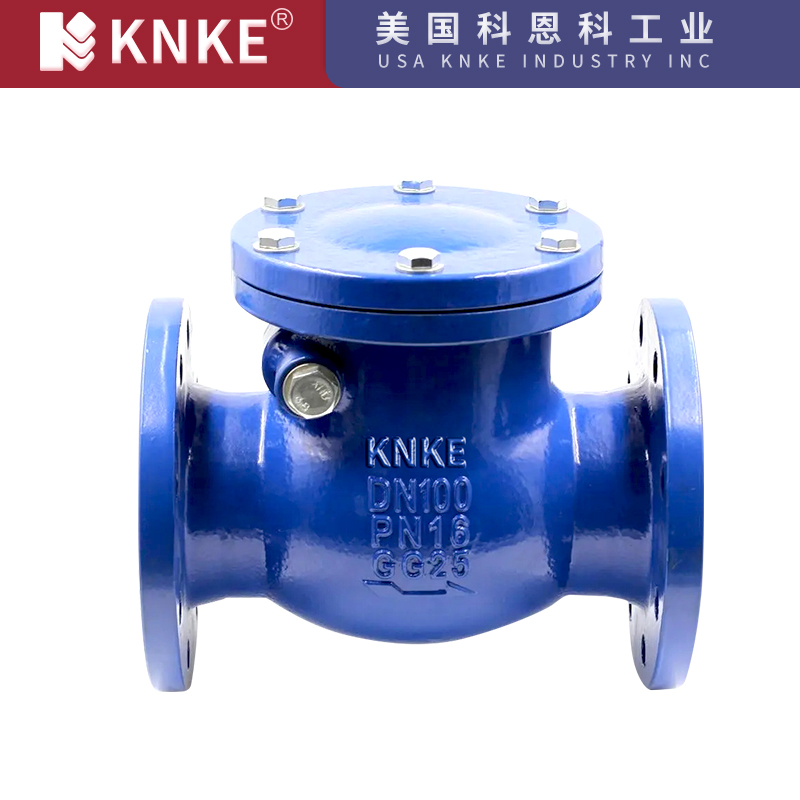
Swing Check Valve
A swing check valve’s disc pivots on a hinge. These valves can be installed horizontally or vertically, but in a vertical pipe, the flow must be upward.
- Orientation: Ensure the valve’s flow arrow matches the direction of media flow.
- Placement: For optimal performance, install these valves on a horizontal pipe. If a vertical installation is necessary, the fluid must be flowing upwards to allow the disc to swing freely.
Lift Check Valve
A lift check valve’s disc moves up and down along the valve’s centerline. They are commonly used in smaller diameter pipes.
- Orientation: Lift check valves must be installed on a horizontal pipe. This allows gravity to help the disc fall back into place, ensuring a tight seal when the flow stops.
- Placement: The valve body must be positioned horizontally so the disc can move vertically.
- Note: Some lift check valves are specifically designed for vertical pipes. Always check the manufacturer’s specifications.
Butterfly Check Valve
A butterfly check valve’s disc rotates like a butterfly valve and is often used in large-diameter pipelines.
- Orientation: These valves can be installed in horizontal, vertical, or inclined pipes.
- Placement: Make sure the flow arrow aligns with the media’s direction. When installing on an incline, ensure the disc’s movement is not obstructed by gravity.
3. Installation Steps and Key Precautions
Installation Steps
- Positioning: Place the check valve in the designated location.
- Alignment: Ensure the flanges or threaded ends of the valve are perfectly aligned with the pipe ends. Never force the connection, as this can stress the valve body and affect its seal.
- Tightening: Secure the bolts or threaded connections in a diagonal pattern. Do not fully tighten one bolt at a time; this will cause uneven pressure on the flange or valve body.
Important Precautions
- Never Install Backwards: This is the most crucial rule. Installing a check valve in reverse will make it completely ineffective and defeat its purpose. Always follow the flow direction arrow.
- Avoid Vibration: Do not install the check valve near sources of strong vibration. Excessive shaking can cause the disc to oscillate or become damaged, compromising the seal.
- Consider Media Properties: If your media contains solid particles, choose an appropriate check valve type and consider installing a strainer or filter upstream of the valve.
- Test and Maintain: After installation, test the system to confirm the valve is working correctly. Regular inspection and maintenance are essential for long-term reliability.
By following these steps and precautions, you can ensure your check valve performs its vital function, protecting your fluid system and preventing costly failures.