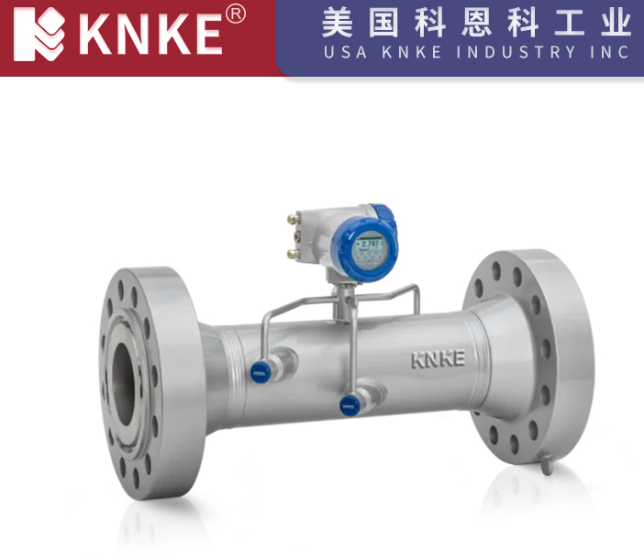
Ultrasonic Flow Meter Installation Guide
Ultrasonic flow meters are widely used in water treatment, chemical, and energy industries due to their high accuracy, low maintenance requirements, and broad application range. However, the quality of installation directly affects measurement accuracy and service life. If installed improperly, even the best equipment may produce inaccurate data or fail to function. Therefore, mastering correct installation requirements is essential.

1. Preparations Before Installation
1. Site Survey and Model Selection
Before installation, select the appropriate ultrasonic flow meter model and probe type based on the medium’s properties (temperature, pressure, composition, impurity content) and pipeline conditions (diameter, material, flow velocity range).
2. Pipeline Inspection and Treatment
Ensure the inner wall of the pipeline is smooth and free from severe scaling or deposits, and that the pipe remains in a full-pipe condition. If there is serious corrosion, air bubbles, or debris, clean or replace the pipe section in advance.
3. Tools and Accessories Preparation
Prepare all necessary tools such as wrenches, measuring devices, levels, cleaning cloths, coupling agents, etc., to ensure a smooth installation process.
2. Selecting the Installation Location
1. Straight Pipe Requirements
To ensure measurement accuracy, the installation site should meet the following minimum straight pipe lengths:
- Upstream (flow inlet side): at least 10D (D = inner diameter of the pipe)
- Downstream (flow outlet side): at least 5D
This avoids turbulence or eddies that can interfere with ultrasonic signal transmission.
2. Avoiding Interference Sources
The installation site should be away from valves, pumps, elbows, and splitters that can cause flow disturbance. Also, avoid areas with strong electromagnetic interference, vibration, or high-temperature radiation.
3. Vertical and Horizontal Installation
- Horizontal pipelines: Prefer horizontal installation, ensuring that the pipe at the probe position is always full of liquid.
- Vertical pipelines: Ensure fluid flows upward to avoid air bubbles accumulating at the probe position.
3. Probe Installation and Fixing
1. Coupling Agent Application
Apply coupling agent evenly between the probe and the pipe surface to ensure ultrasonic signals are transmitted without air bubbles blocking them.
2. Installation Methods
Common methods include V-type, Z-type, and W-type installations:
- V-type: Suitable for small and medium diameters; signal path reflects once.
- Z-type: Suitable for large diameters; signal passes directly once, with minimal attenuation.
- W-type: Suitable for small diameters requiring high precision.
3. Securing and Protection
The probe should be firmly mounted to prevent loosening or shifting during operation. Protective covers may be added if necessary to prevent rain, dust, or chemical corrosion.
4. Commissioning and Calibration
1. Signal Check
After installation, check the ultrasonic signal strength and signal-to-noise ratio to ensure they meet manufacturer requirements. If insufficient, adjust probe position or reapply the coupling agent.
2. Flow Calibration
Calibrate using a standard device with known flow or by comparison with actual flow to ensure accuracy.
3. Data Recording and Benchmarking
Record initial installation data, including signal strength, installation position, and pipe parameters, for future maintenance reference.
5. Maintenance and Precautions
- Regularly check the probe’s fixation and the condition of the coupling agent; reapply or replace as necessary.
- Avoid prolonged submersion of the probe in corrosive liquids; use protective coatings or corrosion-resistant probes if needed.
- If measurement data fluctuates, check the pipeline flow condition and ultrasonic signal quality promptly.
6. Conclusion
Installing an ultrasonic flow meter is not just a matter of mechanical mounting—it is a critical step to ensure measurement accuracy. By strictly following installation requirements, selecting a proper location, and performing careful commissioning, the device’s performance can be maximized to ensure reliable and stable measurement. For different working conditions, refer to manufacturer instructions and adapt to the actual site conditions to achieve precise measurement and long-term stability.
